
Silhouette Photography Tips and Tricks - Best Silhouette Photos
Silhouette Photography Tips
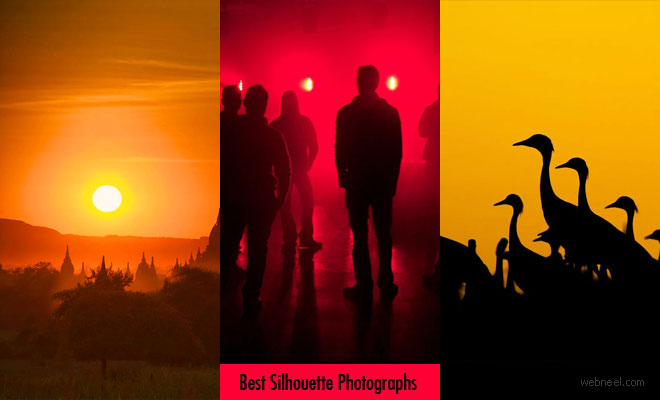
Silhouette Photography Tips and inspiration: If you are looking to add some colour and mystery to your photos then you can use silhouette photography. The best time to take silhouette photography is during dawn or dusk when the sun is a little low, you can see some magnificient colours which can add a lot of drama and mystery to photos. Silhouette photography is used in many films and musical videos, to explain a story but without focusing on the characters. Silhouettes have a lot to convey through their shapes and vibrant colours, just make sure the sun is just in front of you and don't have to worry about too much light behind your subjects, this allows photographers to take interesting shots. In this post we have included 30 Brilliant silhouette photography tips and examples for your inspiration.
Silhouette Photography Tips
1. Subject: You don't have to really worry about choosing a subject, since this photography mostly deals with shapes and colours. So if you can find some simple or objects which can be easily recognizable by the human eye, then make it your subject for photography.
2. Flash: It's a good idea to turn off the flash from your automatic photos, since too much light can ruin the silhouette photography.
3.Light: When you are going for silhouette photography, you have to step out off the traditional thinking about focusing on lights. You need only little light behind the subject for this kind of photography. So try to get your shots during dawn or dusk, when the sun is a little out of sight. Well if you live in a very cold place, then you can just use any other bright light for taking these tricky photos.
4. Distinct shape: If you are trying to focus on too many subjects at one time, make sure each of the subjects are separate, with atleast a little gap, else all the subjects will tend to merge as one big blob, which is very hard to understand. When you are trying to take silhouette photography of people, make sure their features like nose, chin can be seen, so viewers can understand they are human beings.
5. Auto mode: Most new generation cameras tend to take pictures with autofocus with bright lights, well this is not required in silhouette photography, as one needs to underexpose the subjects.point your camera at the brightest piece of your photo and after that press the screen mostly down (don't give up). At that point move your camera back to outline your shot with the subject where you need it and after that wrap up the shot. As a result what you're doing is deceiving your camera into suspecting that the splendid piece of the picture is the mid tone.
6. Manual Mode: A straightforward approach to begin utilizing manual mode is to take a gander at the shutter speed and aperture that it recommends in automatic mode and to begin from that point. In the event that in auto mode your subject is too light (ie you have to make it darker) stop the shutter speed by one or two points to check the imapct that was created.
7. Focus: While focusing try any of these two methods, you can either use manual focus, whoch allows you to play around your shot or use the aperture method to maximize how much you want to focus on your subject.
Related Posts
20 Beautiful Silhouette Photography ideas for your inspiration
25 Most Beautiful Macro Photography examples for your inspiration and tips for beginners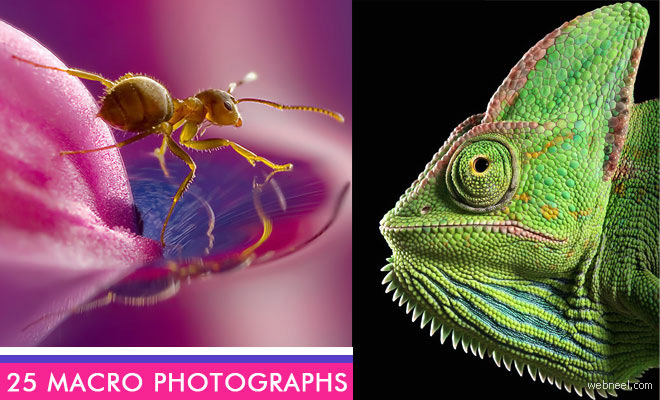
35 Magnificent Time Lapse Photography examples for your inspiration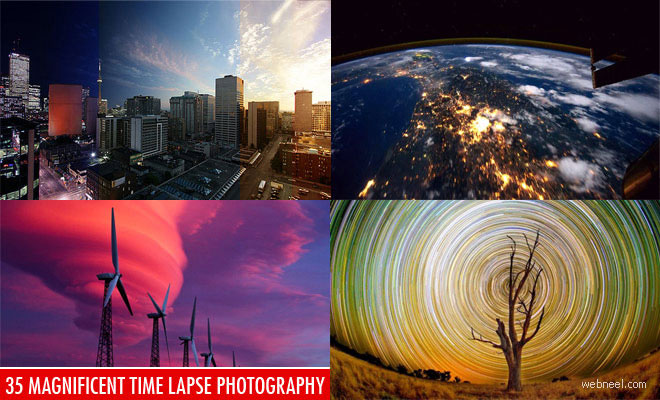
See All Photography Inspiration | Famous Photographers | Different Types of Photography | Best Photographers | Photography Schools | Free Stock Photos | Fashion Photography | Beauty Photography | Portrait Photography | Maternity photography
Tag : Silhouette Photography Tips, Silhouette Tips, Silhouette Ideas