Rain Photography Tips for beginners and Best Photo collection
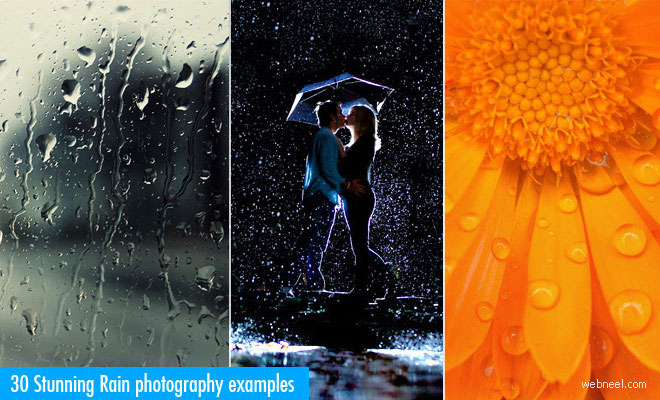
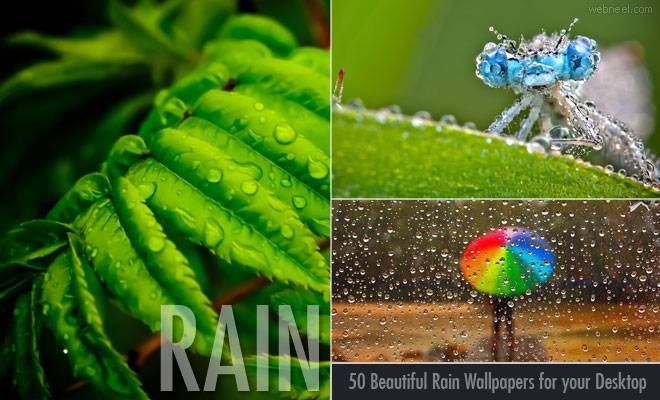
Rain photography : Taking pictures in the rain is not easy, but once you have mastered the technique, you will be amazed to see the different kind of reflections, blurs, colourful rainbows after lightning, unique cloud formations and so on. Rainy days are unpredictable; similarly rain photography is also unpredictable. Sometimes you might end up with the most amazing rain photo ever. One tip: choose a good location and the correct angle for your shot, cover your head and let the cameras roll.

Rain Photography Tips
Tips for Rainy Day Photography: The light during bad weather is soft and diffused, great light for photographing nature. When you take a photograph, you create your composition with light. But bad weather can throw a curveball at your camera if you’re not careful.
Use image stabilization or a tripod. You’re dealing with low light conditions when you photograph in stormy weather, which requires slower shutter speeds. Use image stabilization if you’re forced to shoot at slower shutter speeds. If you don’t have image stabilization, stabilize your camera by mounting it on a tripod.
Choose a larger aperture. When you photograph landscapes, you want a large depth of field, which means using a small aperture, but when you photograph in low light conditions, you have to compromise. Instead of shooting at f/16, stop down to f/8. You’ll still get a decent depth of field at this setting.
Change the object on which you focus. When you stop down, focus on an object two-thirds of the way into your scene. This will increase the depth of field in the foreground.
Have a well-defined center of interest. This is a rule you should follow with all your photography, but it’s even more important when the sky is gloomy and visibility is limited. The viewer needs something to latch onto.
Review all images. Your camera may have difficulty metering a scene properly during inclement weather. In foggy conditions, the camera may underexpose the image. In stormy conditions, the camera may increase exposure and render an image that is brighter than the scene actually was when you took the photo. If what you see on the monitor isn't the same brightness as what you see in front of you, use the next tip.
Use exposure compensation. Your camera may deliver an image that is brighter or darker than what you see before you. Use exposure compensation to increase exposure to brighten the image or decrease exposure to darken the image. Exposure compensation on most digital cameras can be done in one-third EV increments. After you change the exposure, take another picture and review it. If you have to increase exposure, don’t go over the top and blow out highlights to pure white. Always review your camera histogram before you consider photographing another subject, and remember to reset the EV when the light gets brighter.
Take pictures from inside your vehicle. In abysmal conditions, when you see interesting photo opportunities, consider taking some pictures from inside your vehicle. You can roll the window down just long enough to take a picture. If you’re photographing during a driving rainstorm, shoot through the window. Make sure your window is clean. If you shoot through a side window, press the camera to the glass to avoid any reflections.
Wait. If the weather turns bad and you’re forced to seek cover, do so, but wait a while for the weather to change. In some areas, the weather can go from good to bad back to good in a relatively short period of time.
Tags: rain photography, rain photos, rain photo, best rain photography, best rain picture, best rain photos
Related Posts
30 Stunning Rain Photography examples for your inspiration
50 Beautiful Rain Wallpapers for your desktop mobile and tablet - HD
